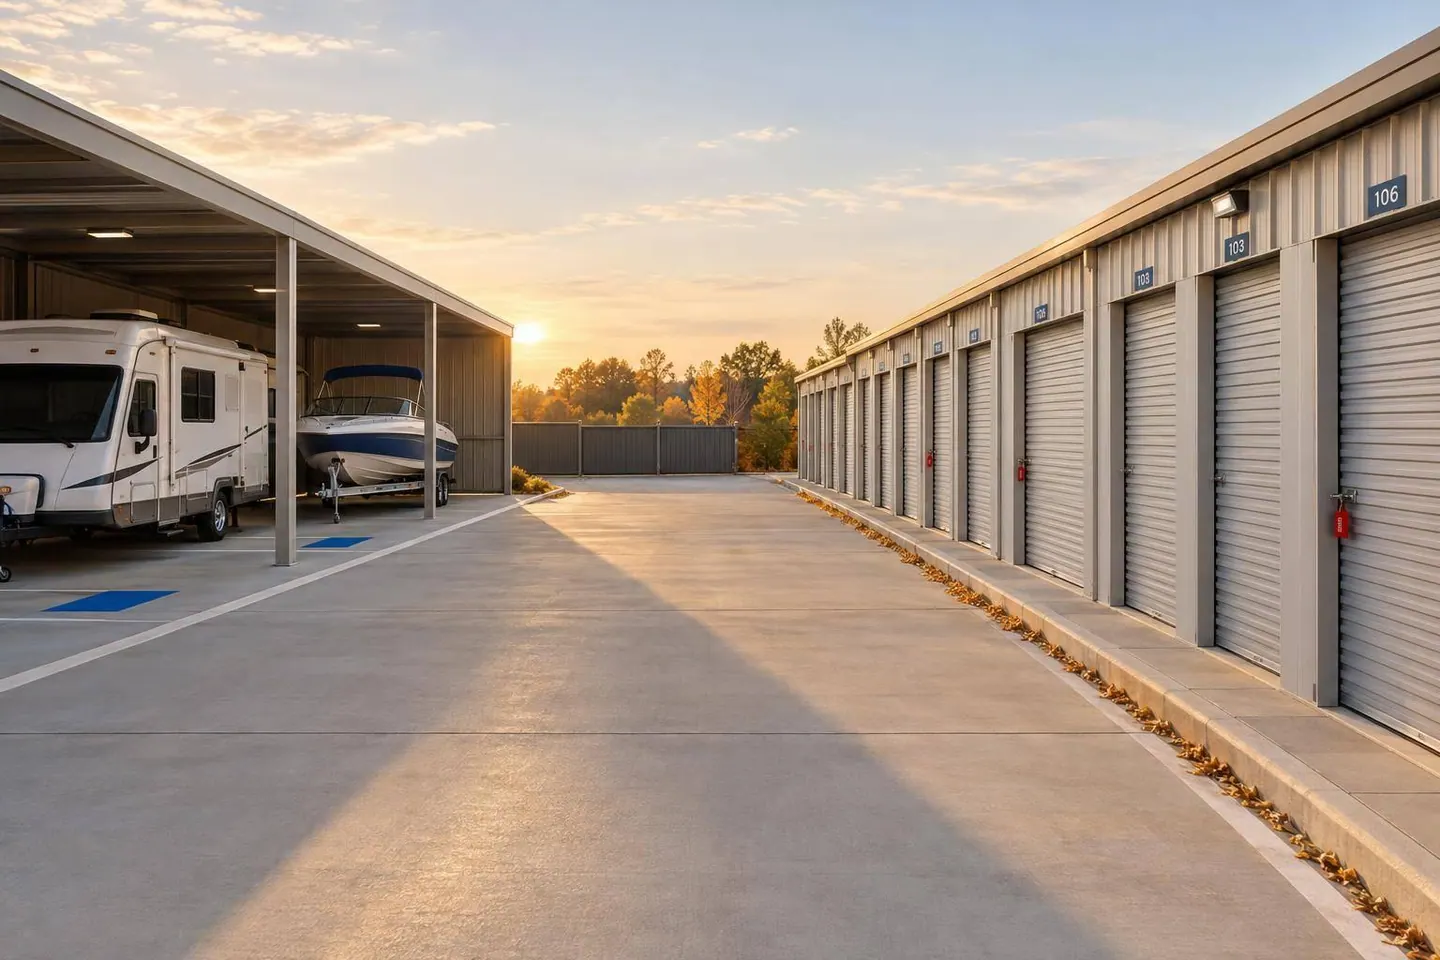

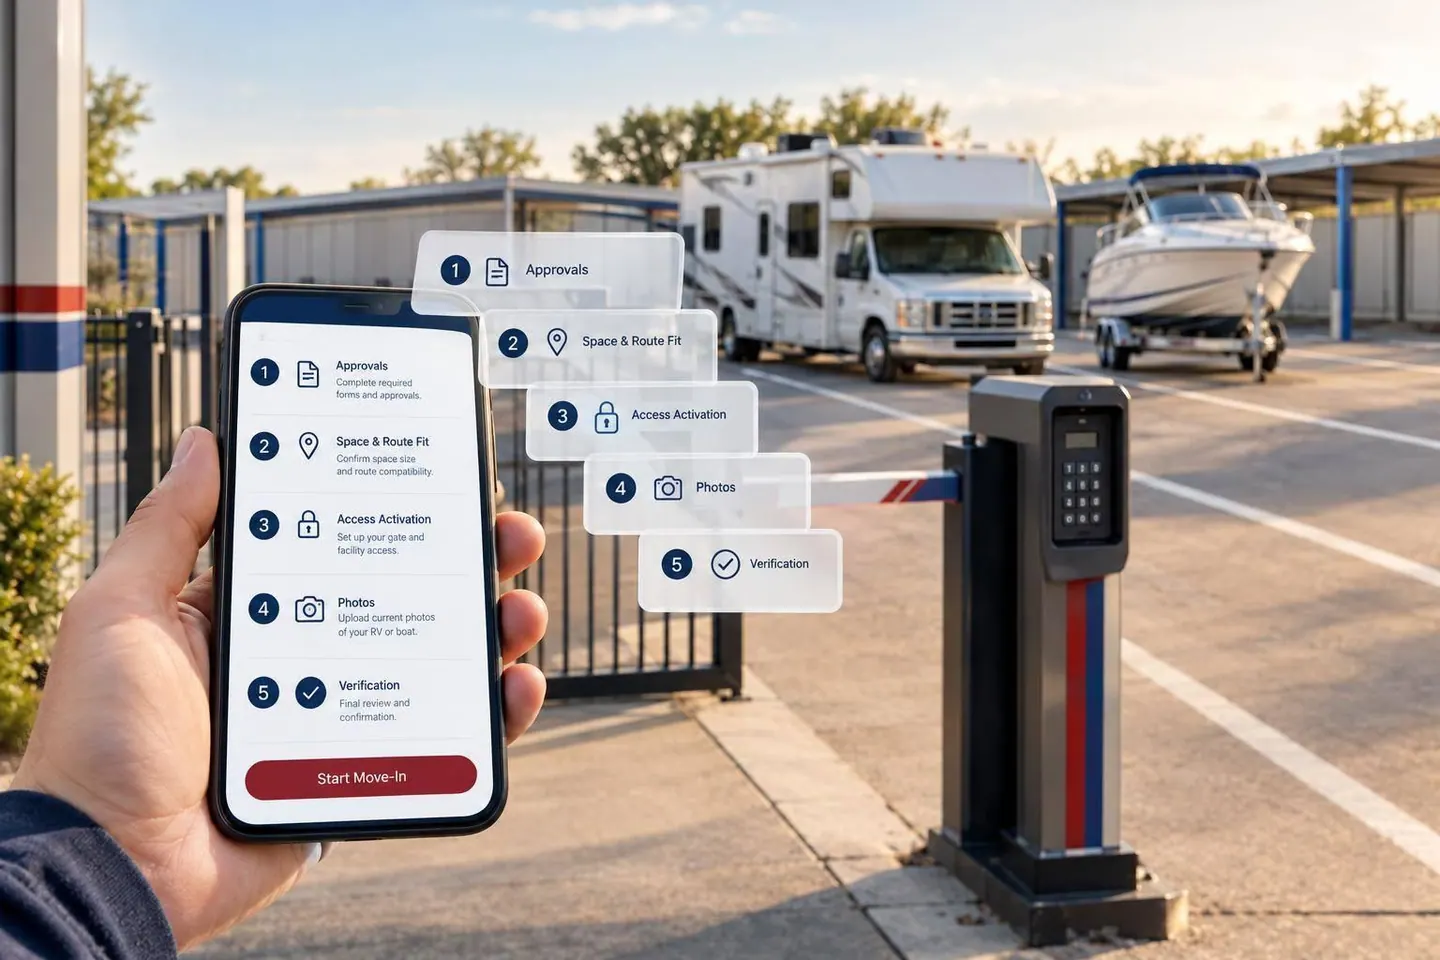
Remote move-in isn’t complete when the gate opens. I treat it as 3 checks: approve the customer and vehicle, confirm safe access, and verify parking.
Before you issue access, check the required records, signed lease, payment, and rules acknowledgment. Then confirm that the complete vehicle setup fits both the space and the route - including gates, turns, and overhead clearance.
My checklist covers:
- Records: Identity, ownership or signing authority, required registration and insurance, dimensions, and photos.
- Arrival: An assigned space, individual gate credentials, route directions, site rules, and help contacts.
- Verification: Placement photos and gate logs, with unresolved issues kept pending.
- Storage: One secure case file linking approvals, agreements, payments, and move-in records.
The rule I follow: <u>approve first, verify placement, then close the case.</u>
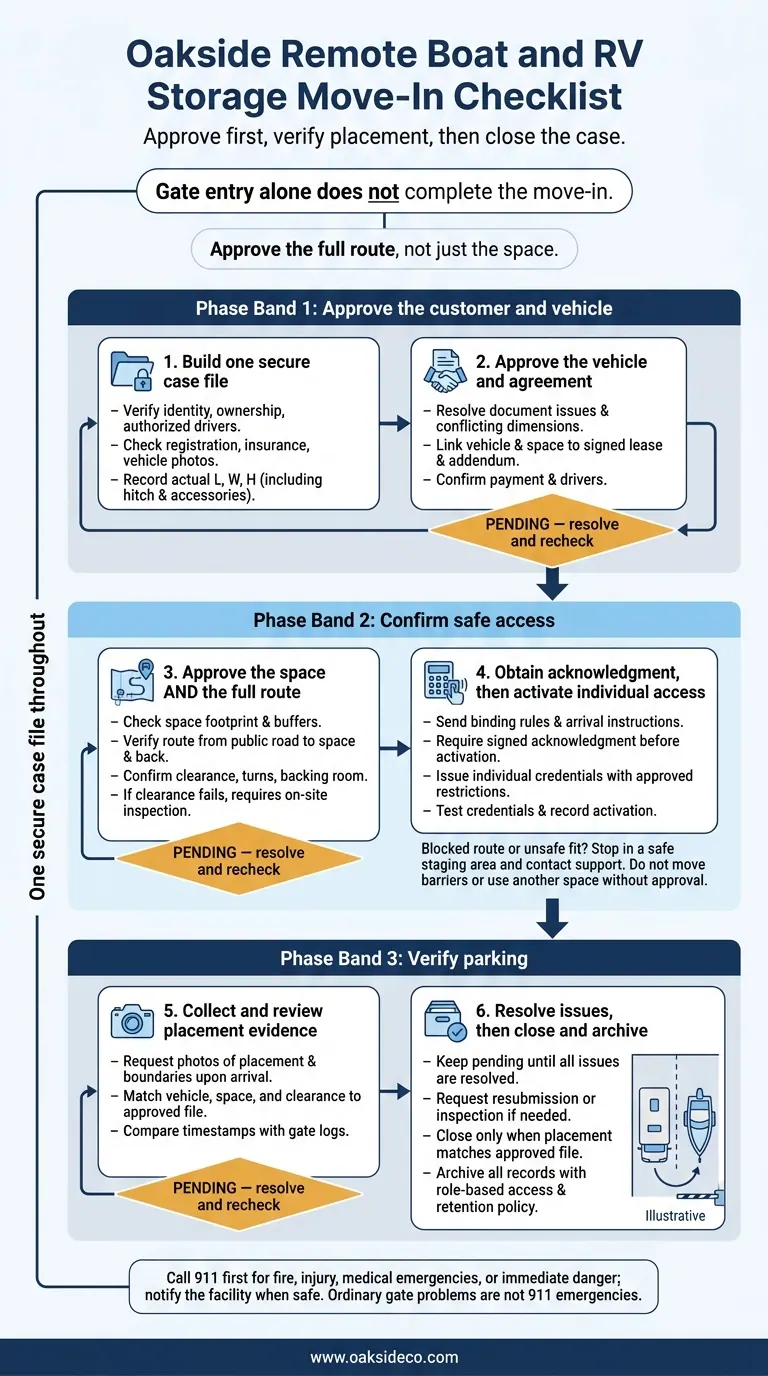
Remote Boat and RV Storage Move-In Checklist
Before approval, create one digital case file that ties together the customer, vehicle, space, documents, and payment status. Label each requirement as either facility policy or a legal requirement. Use secure uploads, role-based access, and retention schedules. Don’t collect Social Security numbers or keep copies of identity documents without a documented need.
Use this file to check fit, approve access, and complete the lease.
Check Identity, Registration, and Insurance
Verify the customer’s legal name, mailing address, phone number, email, emergency contact, and authorized drivers. Specify whether each driver can enter the site, move the vehicle, or both.
Match the applicant’s name against their ID, registration, and proof of insurance. If another person or business owns the vehicle or vessel, verify the applicant’s authority to sign.
Record each vehicle, trailer, or vessel’s year, make, model, color, plate, state, and VIN, hull identification number (HIN), or serial number. A boat and its trailer need separate identifiers.
Confirm Vehicle Dimensions and Photos
Record the actual length, width, and height in feet and inches. Include the trailer tongue, hitch, spare tire, ladders, roof-mounted equipment, and overhangs. Note the measurement date and source.
Collect dimensions for expanded slide-outs or awnings only if their use is allowed. Otherwise, state that they must remain stowed.
Request current photos showing the front, rear, both sides, plate, identifier, trailer connection, and existing damage. When possible, ask for photos of roof-mounted equipment taken from the ground - no unsafe climbing.
Pause approval for unreadable IDs, expired documents, duplicate records, conflicting dimensions, or name mismatches. Assign a reviewer and deadline, add a resolution note, and keep the original submission. Use the measurements and photos to finalize the space assignment.
Prepare the Vehicle-Specific Lease
Use stable record IDs to link the approved vehicle and space to the lease and vehicle addendum. Specify the approved vehicle, authorized drivers, relocation terms, added services, charges, and electrical use.
Require approval before any vehicle swap or accessory change that affects fit. Keep the signed agreement linked to the documents and payment status, and have counsel review jurisdiction-specific terms. Once the lease is complete, move to access approval and site instructions.
Check Space Fit and Turning Clearance
Once records are approved, match the vehicle to a space that fits both its footprint and its route. Approve the full route, not just the space. Check trailer articulation, backing room, and overhead clearance. Use the approved measurements to confirm the space’s usable footprint, leaving required buffers for doors, utilities, drainage, neighbors, and maintenance access. Confirm whether the tow vehicle will stay attached and whether the surface and slope can support the vehicle.
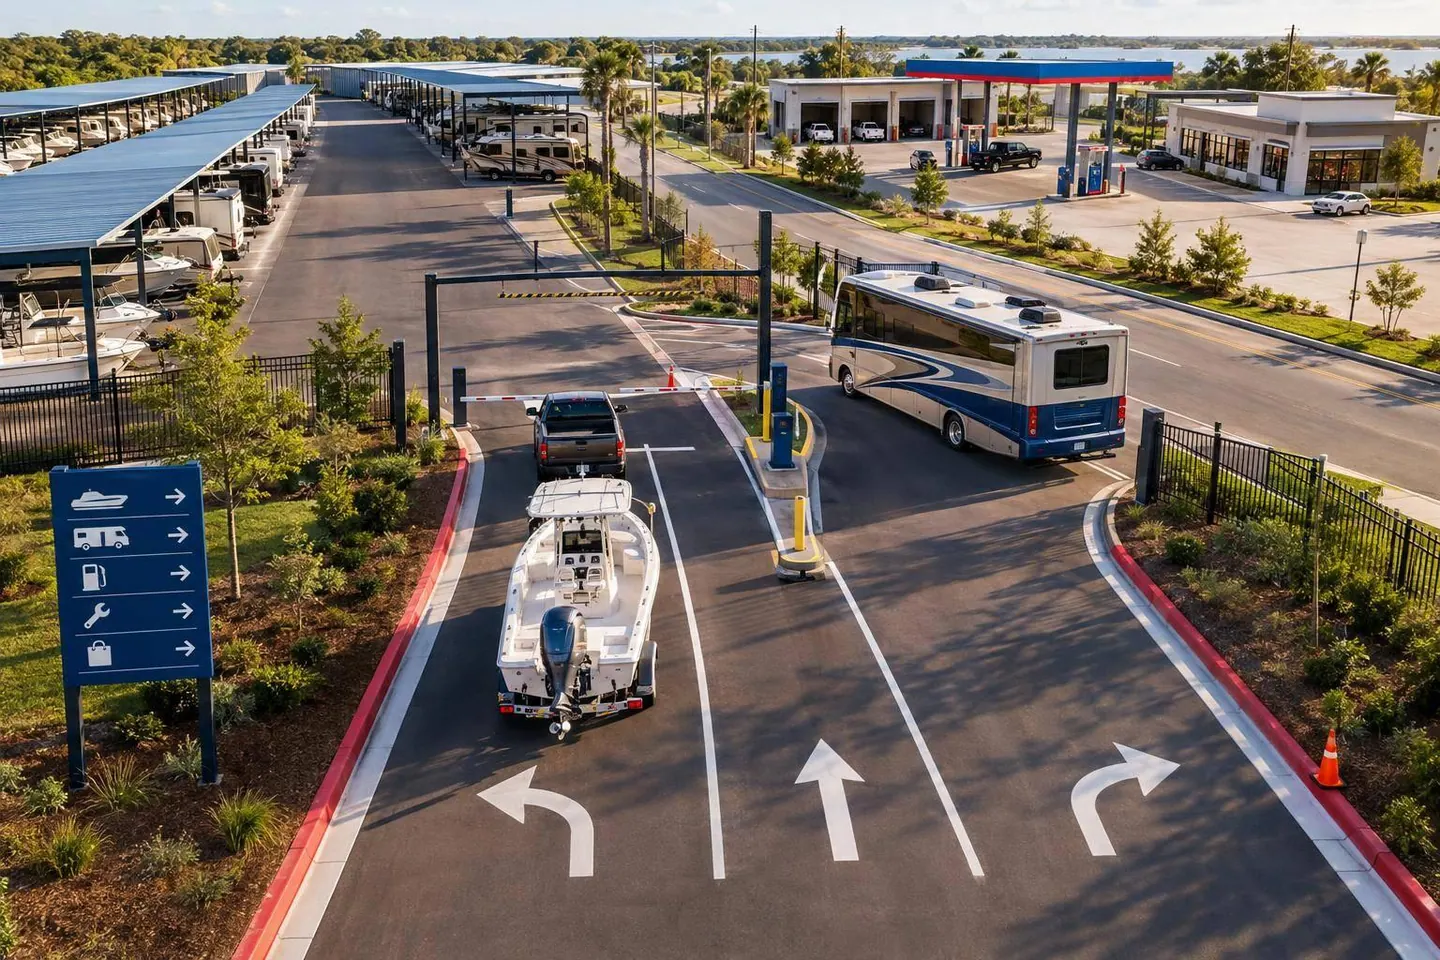
Check the entire path from the public road through the gate to the space - and back out. Measure narrow openings, overhead obstructions, drive aisles, and turning areas. Account for neighboring vehicles, columns, trailer swing, and grade changes. Hold approval if photos or plans don’t show safe clearance. Require an on-site inspection before assigning the space.
Save the approved route and marked map with the access record. Note all restrictions, including electrical use and tow-vehicle parking. If the space is blocked or the approach requires unsafe backing, clear the obstruction or approve another space before arrival. Activate access only for assigned users after the route is approved.
Activate Individual Access After Approval
After approving the space, enable access only for the users and routes listed on the lease. Issue individual credentials, not a shared code. Restrict access to approved users, gates, zones, and hours. Allow early or seasonal arrivals only when both the lease and policy permit them.
Test each credential at the assigned gate and confirm it won’t open restricted zones. Send the credential along with the assigned space, route, access hours, and help contact. For mobile entry, provide a backup option in case of a dead battery or weak service. Record the activation timestamp and test result for move-in verification.
Once access is approved, send a single packet with binding lease and site rules and practical arrival instructions. Require a signed or authenticated acknowledgment before activating access. Save the acknowledgment, delivery record, and exact documents sent. Have local counsel review electronic acceptance requirements; continued use alone isn’t enough.
Explain Vehicle and Site Rules
Label each rule by space type: all spaces, assigned space, indoor storage, powered space, or optional service. Cover operability, registration, insurance, tires, leaks, batteries, wheel chocks, and tie-downs. Clearly state whether shore power, repairs, washing, dumping, waste disposal, fuel, and propane are allowed - and where. Follow manufacturer guidance for battery, solar, ventilation, and charging procedures.
Explain visitor and authorized-driver requirements. Prohibit credential sharing and following another vehicle through the gate. Cover prohibited items, habitation and subleasing restrictions, and maintenance-access requirements. Keep emergency relocation terms, space-reassignment terms, and rule-change procedures in the lease, not the arrival packet. If repairs aren’t allowed, clarify whether customers can still do minor preparation, such as checking tire pressure.
Provide an Arrival Checklist and Help Contacts
After explaining the rules, give customers a final arrival checklist:
- Reconfirm vehicle details: Dimensions in the loaded towing configuration, current registration and insurance, running condition, tires, hitch, brakes, lights, and securing equipment. Require customers to report changes to the vehicle, driver, dimensions, or arrival date.
- Provide arrival directions: Entrance address, GPS limitations, space number, route and exit directions, actual access hours, parking orientation, and staff availability.
- Request placement photos: Customers should take photos immediately after placement and before leaving. Include the front, rear, both sides, license plate or registration number, space number, boundary clearance, securing equipment, and existing damage.
Clearly separate routine support hours, urgent facility support, and after-hours instructions. If access fails, ask customers for the gate location and error message. If a route is blocked or the vehicle won’t fit safely, tell them to stop in a safe staging area, photograph the issue, and contact support. They must not move barriers or use another space without approval.
Call 911 first for fire, injury, medical emergencies, or immediate danger, then notify the facility when safe. Ordinary gate problems do not warrant a 911 call. Use the arrival photos and access log to complete placement verification.
Gate entry alone does not complete the move-in. Keep the case pending until staff use arrival photos and gate logs to verify that the vehicle is in its assigned space.
Review Placement Photos and Access Logs
Compare dated placement photos with the approved vehicle record. Check the space number, make, model, color, plate or vessel ID, and visible accessories. Confirm boundaries and clearance around accessories, trailers, and hitches. Customer photos show placement - not proof of condition. Verify any unclear dimensions or clearance. If the photos don’t match the record, keep the case pending and begin correction.
Match photo timestamps to gate logs, and record the arrival time only after verifying it. Also record the upload and verification times, customer and lease IDs, vehicle identity, assigned space, evidence reviewed, reviewer, and status.
Resolve Move-In Issues and Keep Records
Keep unresolved cases pending. Correct wrong-space placement, review the fit of oversize equipment, and obtain approval for unapproved vehicles. Request updated proof when insurance has expired.
Escalate blocked emergency routes immediately under site safety procedures. Document gate damage and notify management. If uploads are missing or fail, request secure resubmission or arrange a staff inspection. Follow the lease and applicable law before restricting access or relocating a vehicle.
Once placement matches the approved file, close the case and archive the records. Keep original photos, access logs, approvals, document versions, communications, incidents, and corrective actions in a secure case file. Use role-based access, protected storage, audit logs, and a legal-hold process.
Follow a written retention policy that sets periods by record type and legal, insurance, and business requirements. Securely dispose of records when those needs end.
Once placement is verified, use a final checklist to close out the move-in. Confirm customer and vehicle records, required registration and insurance, the signed vehicle-specific agreement, payment status, the assigned space, and approved access.
Check that the vehicle fits the full route - not just the space. Review gate width, turns, trailer clearance, towing clearance, and lot navigation. Confirm placement with photos and gate logs.
Mark the case closed, then archive the lease, vehicle record, approvals, and placement verification together in the same secure case file.
How does boat and RV move-in differ from self-storage?
Boat and RV move-ins call for checking vehicle fit, aisle width, turning radius, backing room, and gate clearance to help prevent damage. Self-storage move-ins focus more on unit size and access.
Boat and RV move-ins tend to peak during fall winterization and spring launch, rather than around life events like relocation. Because stays are often longer, long-term fit, power hookups, and covered protection matter more than short-term turnover.
How much clearance does my boat or RV need?
Your boat or RV needs room to move through the facility - not just fit in its stall. Oakside’s guidance recommends checking canopy columns, door openings, gate clearance, and turning room for the full vehicle and tow combination.
When planning the site, also make sure large rigs have enough room to turn and pull completely off the road before stopping at the gate.
Can I complete move-in without reliable cell service?
Generally, no. Remote move-ins use digital rental platforms, automated gate access systems, and online verification tools. You’ll need a stable internet connection to finalize your lease, receive entry codes, and complete move-in verification.